
toddlers crochet poncho
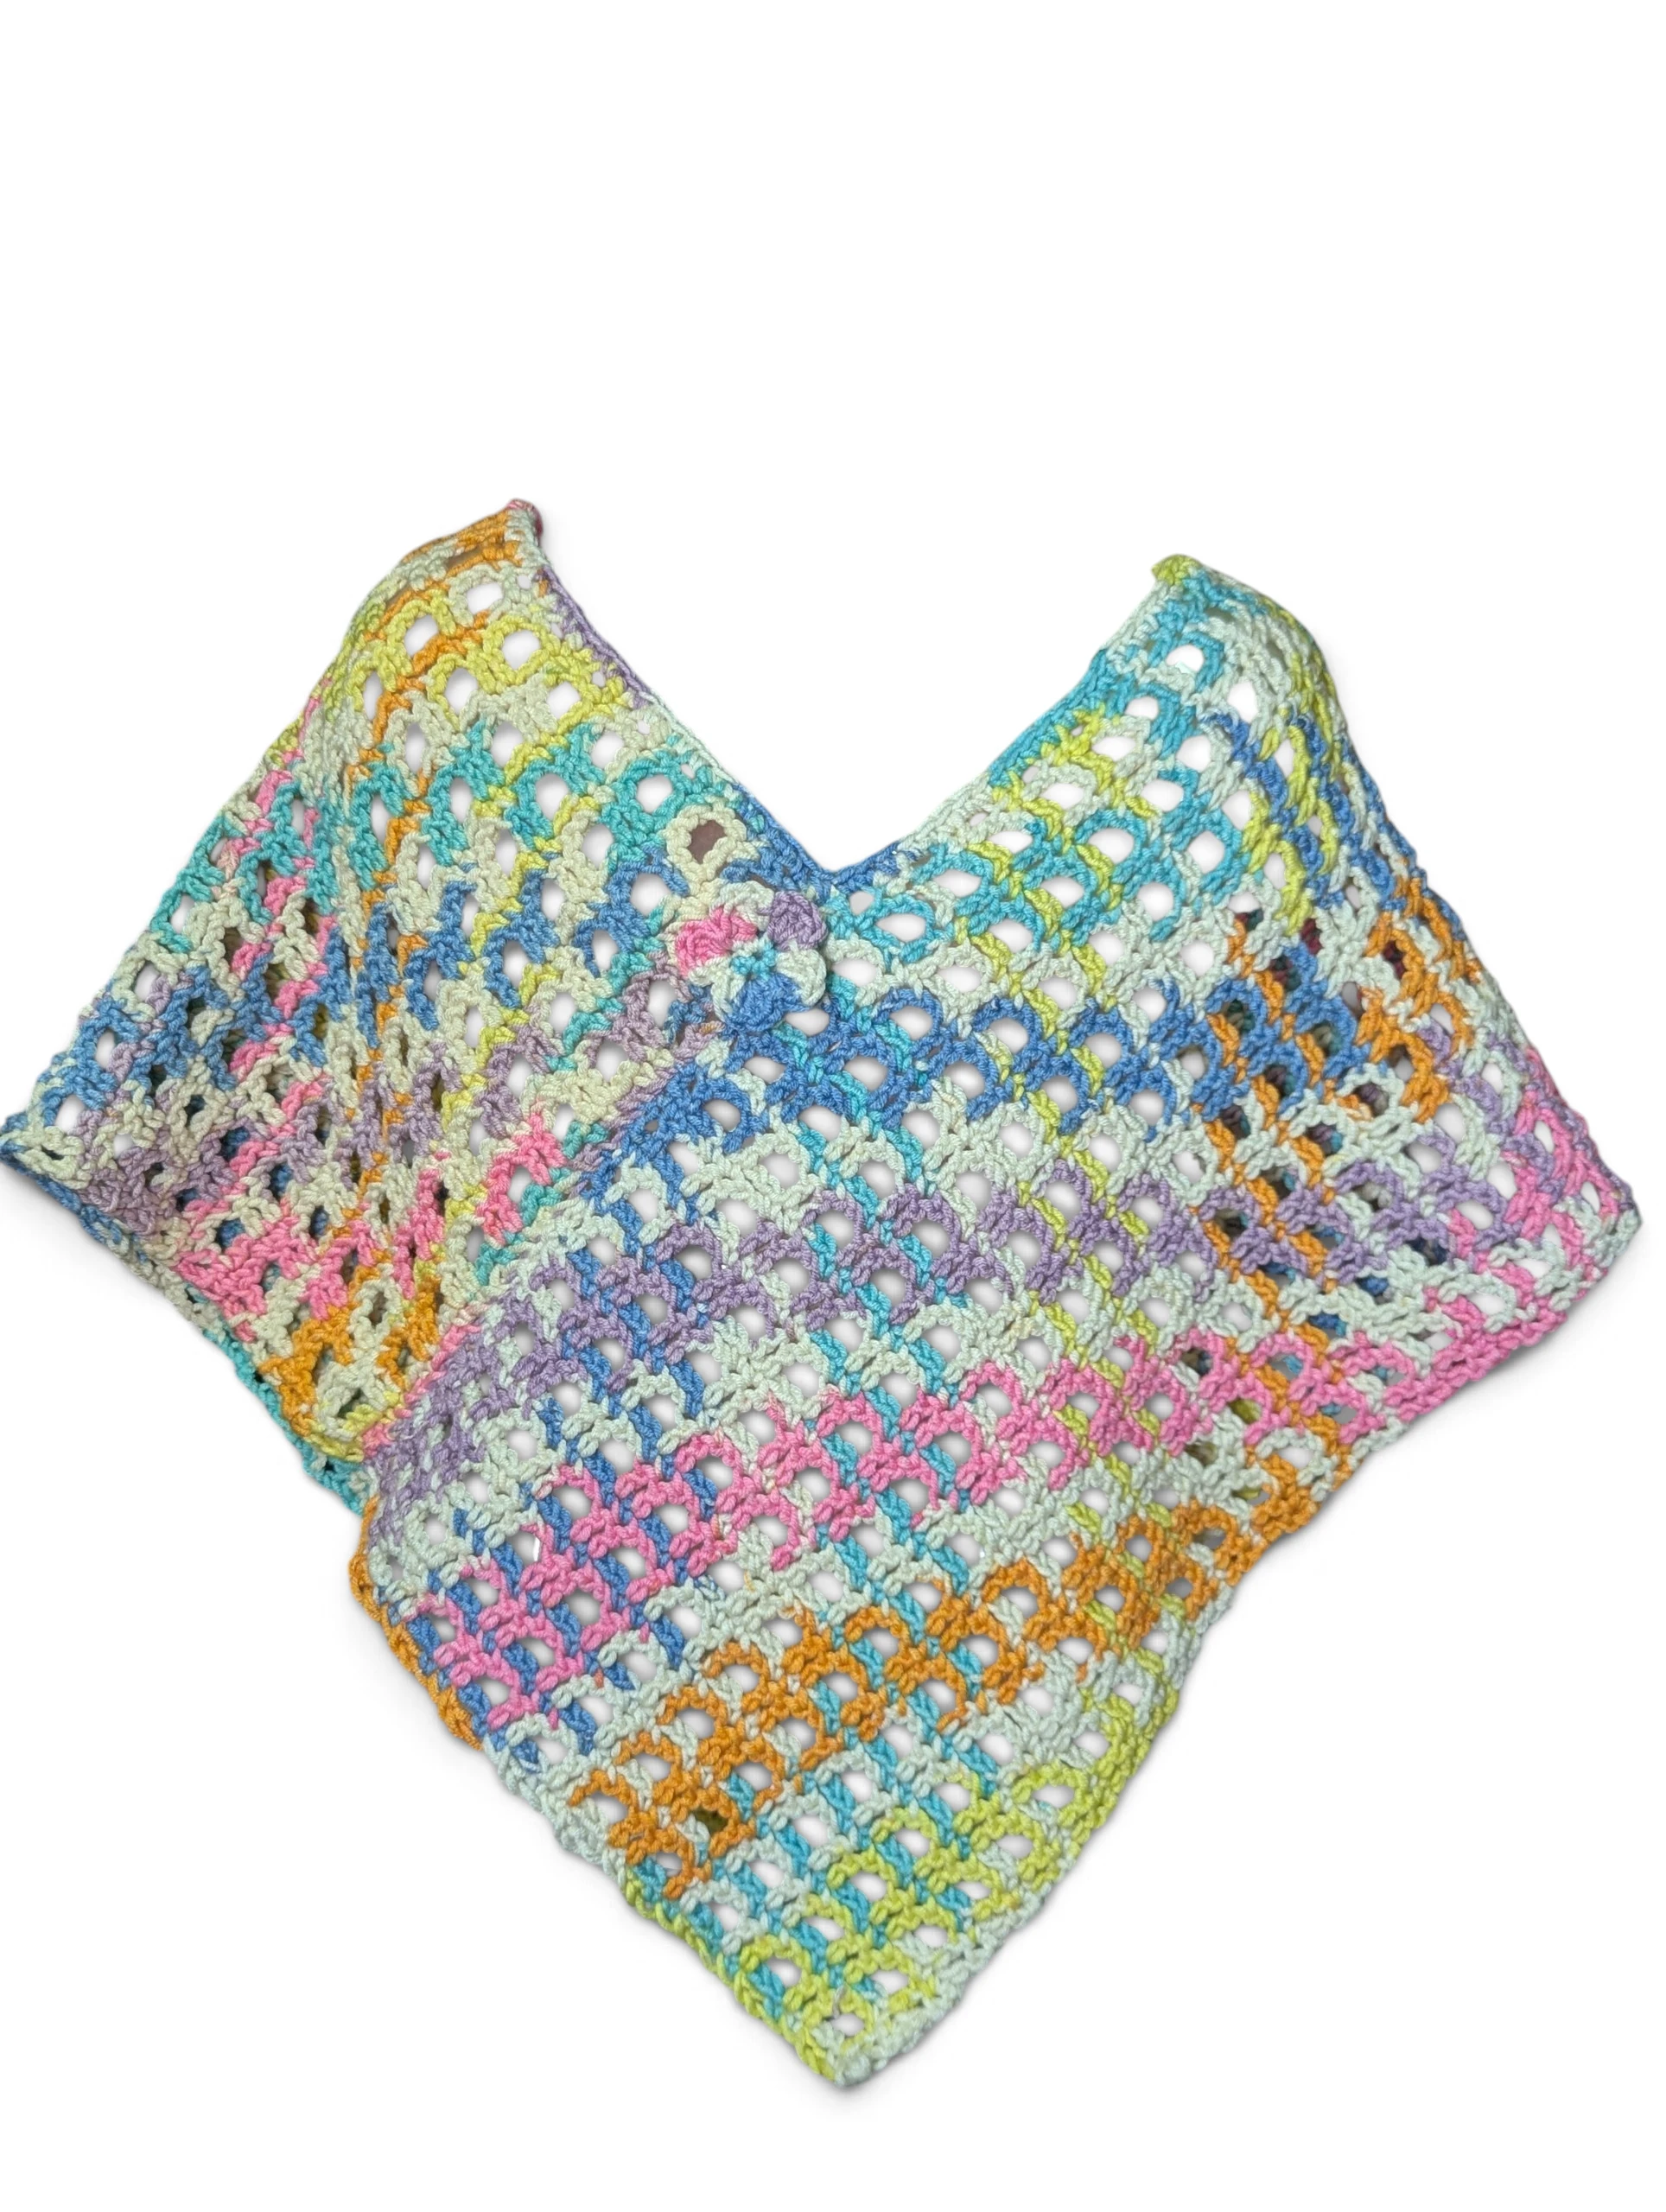
Toddlers Crochet Poncho
This simple child’s poncho can be made with any stitch you like, but I have made mine with the Checkerboard Lace stitch.
It is a simple repetitive pattern that is easy once you get going. It looks amazing as a poncho, and I think a scarf or shawl would be just as nice.
There’s not a lot of detail for this pattern because it is very simple, but you can more or less wing it with some basic crochet knowledge.
Scroll further for the details.
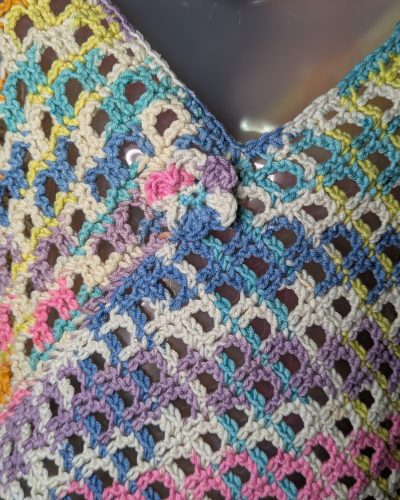
This basic pattern uses 2 rectangles sewn together to form a v. I have added a sc border at the top edge and a small crochet flower for something extra. In hind sight, the flower and border may have looked better in a solid colour, but there you have it. 😊
My poncho is smaller than the original measurements I wanted, but I went with it anyway. I blocked each rectangle before sewing together and this made a good difference.
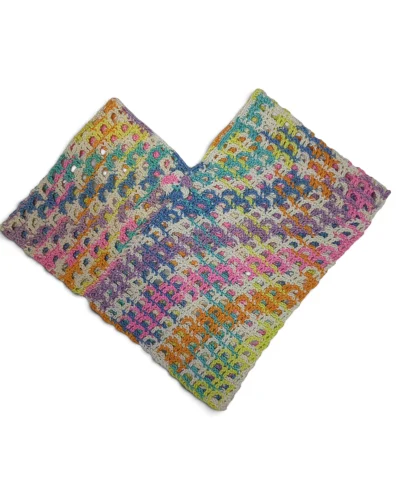
Toddlers Crochet Poncho - basic instructions
For a poncho to fit approximately 1-3 yrs, crochet 2 rectangles approximately 25cm x 50cm.
For this project I used a 5ply cotton/acrylic yarn with a 4mm hook. You can use any weight yarn and corresponding hook. Gauge isn’t important as long as your rectangles are the same ratio. Decrease or increase the size for smaller or larger ponchos, eg if your rectangle is 30cm wide it should be 60cm long.
I used the Checkerboard Lace pattern, but you can use any stitch you prefer. Check out these other stitches in my Crochet Stitch Library for some inspiration.
I found my tension had pretty extreme differences for each panel…or I may have used a different size hook for each!! Don’t forget to check this. Blocking made a world of difference for getting the size a better match and making everything straight. It’s worth not skipping this step.
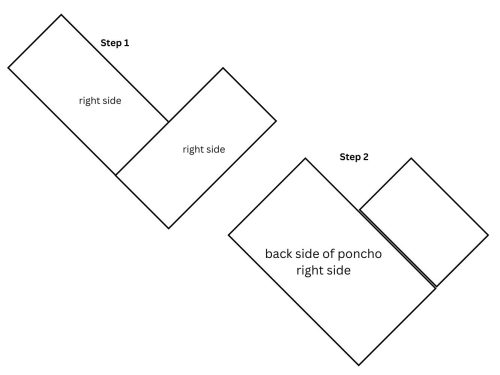
When you have completed both rectangles, sew the bottom edge of one rectangle to the side edge of the other rectangle.
I used a simple stitch with the pieces laid flat, right side up just catching in loops from one side to the other.(Step 1) If you have another preference, feel free to use that. It all depends on the look you are going for. Use stitch markers for measuring so you finish at the correct point. If you don’t your work could stretch out as you stitch.
Sew the opposite ends in the same way forming a V.(Step 2)
The poncho does not really need a neck border, but if you like that look, join in yarn to the back neck edge and do a round of sc and fasten off.
You can add any flower you would like or click the link for the flower I used. Leave long tails to attach your flower. Add more flowers down the length of the front seam for more decoration, or just place one big one centre front…whatever your imagination desires.
Weave in all ends.
Don’t hesitate to contact me, comment or click the chat, if you need clarification or have any questions. I love to respond to questions and comments.😊